
Can You Repair a Cracked Shower Floor Without Replacing It?
You step into the shower, and there it is-a jagged crack spiderwebbing across the floor, threatening slips and hidden leaks that could wreck your bathroom. Replacing it sounds like a nightmare of expense and disruption, but what if you could fix it yourself? We’ll break down crack types, spot when repair beats replacement, and guide you through epoxy fillers, patches, and seals-saving you time and cash. Ready to crack the code?
Understanding Cracked Shower Floors
Cracked shower floors often start as stress fractures in ceramic tiles from temperature changes, with a 2019 study by the Tile Council of North America noting 40% of cases linked to poor mortar bed installation.
The shower pan, typically a fiberglass or acrylic base, supports the tiles but can flex under weight, exacerbating cracks. Ceramic tiles, more porous than durable porcelain, are prone to propagation where micro-stresses widen into visible fissures.
Hairline cracks, under 1mm and often invisible without magnification, differ from impact damage like those from a dropped hammer, which shatter tiles outright. A Reddit thread on r/HomeImprovement highlighted vibrations from upstairs laundry causing similar issues in multi-story homes.
To prevent this, install an anti-fracture membrane like Schluter-Ditra during tiling, which absorbs movement and reduces failure rates by up to 70%, per TCNA guidelines.
Benefits of Repairing vs. Replacing
Repairing a cracked shower floor with epoxy filler costs $30-100 and takes 4-6 hours, versus $1,500-3,000 for full replacement including labor, as per HomeAdvisor’s 2023 data. To get a deeper understanding of those higher replacement figures, check out our guide on how much shower installation costs.
This repair approach saves 80-90% on costs and avoids 1-2 weeks of disruption. For actionable steps, follow these guidelines:
- Repair Option: Maintains the waterproof membrane; use a DIY kit like Loctite Epoxy ($20) and silicone caulk for sealing. Clean the crack, apply filler, and sand smooth-ideal for pebble or tile floors.
- Replacement Option: Involves a new shower liner but risks plumbing issues and higher moisture exposure.
In a real scenario, John followed Lowe’s tutorial to repair his pebble floor crack for $50, boosting home value by $500 without full renovation. ROI: This yields $1,000 in avoided water damage over 5 years, per EPA moisture studies.
Assessing the Damage

Before you pick up your hammer and chisel, check your cracked shower floor carefully to see if a basic grout fix will work or if bigger problems like a settling foundation mean you need professional help.
Identifying Crack Types (Hairline vs. Structural)
Hairline cracks under 1mm in your ceramic tile shower floor, often from temperature changes, differ from structural ones over 1/4-inch wide caused by heavy use or poor installation.
To identify them, measure crack width with a ruler: anything under 1mm is typically hairline, while over 6mm signals structural issues. Hairline cracks are superficial and can be fixed with a sealant like DAP Kwik Seal, as shown in This Old House’s YouTube guide on acrylic shower repairs, preventing minor water ingress without major work.
Structural cracks, however, penetrate the mortar bed and require epoxy injection or professional reinforcement, often stemming from foundation settling in prefab bases, per EPA reports on water damage (epa.gov). For safety, consult a tile expert if unsure, avoiding DIY on deep fissures to prevent mold growth.
Evaluating Severity and Underlying Causes
Evaluate severity by checking for water pooling around the crack, which indicates a compromised waterproof membrane, with severe cases showing widespread cracking in 30% of older homes per a 2022 NAHB study.
To identify causes, assess these common issues on a severity scale of 1-5, with actionable steps:
- Heavy use (scale 2): Minor wear from traffic; DIY fix by cleaning and applying epoxy filler like Loctite PL Premium.
- Poor installation (scale 4): Check grout lines for gaps; regrout using tools like a grout float and Mapei Keracolor.
- Foundation settling (scale 5): Consult a structural engineer immediately, as seen in a DIYChatzer forum discussion on plumbing vibrations causing 2-inch cracks.
- Temperature fluctuations (scale 3): Use flexible sealant such as silicone caulk from DAP to prevent expansion gaps.
Tap tiles with a mallet for hollow sounds indicating loose mortar, requiring professional retiling.
Tools for Initial Inspection
Start your inspection with a $10 flashlight and a 24-inch level from Home Depot to spot uneven shower bases, essential for distinguishing minor grout issues from pan cracks.
Next, gather these 5-6 must-have tools for a thorough shower inspection:
- Moisture meter ($20, like the General Tools MMD4E) to detect hidden leaks behind tiles-essential for early water damage prevention.
- Chisel ($8) to gently probe grout lines and check for loose tiles or mortar depth.
- Screwdriver (basic set, $10) for testing tile adhesion by tapping and lifting edges.
- Safety gloves cost $10 and use nitrile material for grip. They protect hands from sharp edges and debris.
Visual checks cost nothing, but the moisture meter provides readings accurate to within 5% based on the manufacturer’s tests, and it costs more than using your own judgment.
For example, in Schluter Kerdi membrane systems, use the meter per Schluter’s installation guide to verify waterproofing integrity before full repairs.
This toolkit provides practical information that can save thousands of dollars on remodeling expenses.
(Word count: 92)
Is Repair Feasible?
Determine repair feasibility by examining if your shower floor crack is isolated and under 4 inches, allowing cost-effective fixes like epoxy without full demo.
Signs Repair is Possible
If your crack is a hairline in the grout without water leakage, repair is feasible using silicone caulk, as seen in 80% of cases from Home Depot’s repair tutorials.
To proceed, first clean the area with a grout saw or utility knife to remove loose debris, then apply a mildew-resistant silicone caulk like GE Tub and Tile (about $8 at hardware stores) using a caulking gun for even coverage. Smooth with a wet finger and let cure for 24 hours.
Before starting, check these four DIY feasibility signs:
- Isolated crack (under 6 inches; use epoxy if deeper).
- No mold (clean with diluted bleach solution).
- Stable tiles (no bulging or movement).
- Intact pan (test by filling with water for 15 minutes; no leaks).
A successful example is a mosaic tile fix on YouTube’s ‘Fix It in 5’ channel, done in 2 hours with basic tools, per user reviews from the Tile Council of America.
When Replacement is Unavoidable
Replacement becomes necessary when widespread cracking exceeds 10% of the floor or water pooling reveals structural failure in the shower base, risking $5,000 in water damage per Insurance Institute for Business & Home Safety.
Watch for these 3-4 key red flags signaling urgent replacement:
- Bulging tiles: Indicates foundation settling or moisture expansion, often requiring immediate structural assessment.
- Multiple deep cracks (over 1/8 inch wide): Suggests poor initial installation or material fatigue; use a tile pry bar to gently check adhesion.
- Leaks that keep happening: This shows a damaged vinyl liner. Do a dye test: Add food coloring to the water and check if it leaks out through cracks.
- Soft or spongy subfloor: Reveals rot from prolonged exposure.
In a 2021 Houzz forum case, a family ignored cracks, leading to a $2,500 vinyl liner replacement after mold spread. Actionable advice: If cracks propagate post-inspection, call a licensed plumber promptly to avoid escalation-inspections cost $100-200 but prevent thousands in repairs.
Tools and Materials Needed
Gather essentials like a 1-inch chisel and Loctite epoxy filler kit ($25 at Lowe’s) to tackle most cracked shower floor repairs without surprises.
Essential Tools List
Your toolkit starts with a 16-oz rubber mallet ($12) for gentle tile removal and 220-grit sandpaper ($5) for smoothing epoxy edges.
Expand your setup with these essential tools for efficient tile work. Organize everything in a $20 plastic toolbox for easy portability and storage.
| Tool | Price | Use | Best For |
|---|---|---|---|
| Hammer/Chisel | $15 | Removing grout | Ceramic tiles need careful work and a steady hand. |
| Utility Knife | $8 | Cutting sealant | Precision edges on caulk lines |
| Putty Knife | $6 | Applying filler | Smoothing grout or epoxy |
| Sandpaper (220-grit) | $5 | Smoothing surfaces | Finishing epoxy or tile edges |
| Level | $15 | Checking alignment | Ensuring even tile placement |
| Gloves/Mask | $10 | Safety protection | Dust and chemical handling |
Total cost under $80; start by laying out tools on a workbench for quick access during projects.
Key Materials for Different Methods
For epoxy filler on porcelain tiles, stock up on a 4-oz tube of PC-Petry Epoxy ($18), ideal for hairline cracks in shower pans.
To apply it, clean the crack with isopropyl alcohol, mix equal parts resin and hardener as the instructions say, and use a syringe to fill it. Sand smooth after 24-hour cure for a seamless finish.
For complete shower pan repairs, look at these options:
- Epoxy Filler (Loctite, $20): Structural bonding; pros: 4000 PSI strength, waterproof; apply in layers for deep cracks.
- Silicone Caulk (DAP, $8): Flexible seals; ideal for joints; cures in 24 hours, resists mold per ASTM C920 standards.
- Waterproof Membrane (Redgard, $40/gal): Leak prevention; roll on acrylic bases for 10-year durability as per manufacturer specs.
- Tile Adhesive (thinset mortar, $15): Patching tiles; mix with water, trowel on, cures in 48 hours.
- Mesh Tape ($10): Reinforcement over seams; embed in thinset for crack resistance.
Pair epoxy with Redgard for optimal longevity in wet areas.
Preparation Steps

Proper prep ensures your epoxy application bonds well, starting with thorough cleaning to remove soap scum that causes 60% of repair failures.
Cleaning and Drying the Area
Mix a 1:1 vinegar-water solution with baking soda to scrub the crack, drying fully with a hairdryer on low for 30 minutes to prep for filler.
- Once prepped, apply a high-quality acrylic filler like DAP DryDex ($8, 8 oz tube) using a putty knife-push it firmly into the crack to avoid air pockets.
- Smooth the surface and let it dry for 1-2 hours per the package instructions.
- Sand with 220-grit sandpaper until flush, wiping dust with a tack cloth.
- For best results, prime with Kilz Original Primer ($15/gallon) before painting.
This method, recommended by Home Depot’s DIY guides, ensures a seamless repair lasting years. Total time: 3-4 hours.
Common mistake: Overfilling, which causes cracking-use thin layers.
Protecting Adjacent Surfaces
Tape off surrounding tiles with 2-inch painter’s tape ($5) and cover the drain with plastic wrap to shield your shower enclosure from epoxy drips.
Next, implement these four key protection methods to safeguard your space during epoxy application:
- Lay drop cloths ($10) on the floor to catch spills and prevent stains on grout or vinyl.
- Apply masking tape along walls adjacent to the shower for crisp lines and debris protection.
- Drape plastic sheeting ($8) over nearby fixtures like lights or cabinets to block overspray.
- Ventilate the area with a box fan positioned in an open window to disperse fumes and maintain air quality.
Always wear safety goggles to control dust and particles, as recommended by OSHA guidelines. A Home Depot tutorial highlights how this setup avoided $100 in pebble floor cleanup costs, ensuring a smooth, professional finish in under two hours.
Primary Repair Method: Epoxy Filler
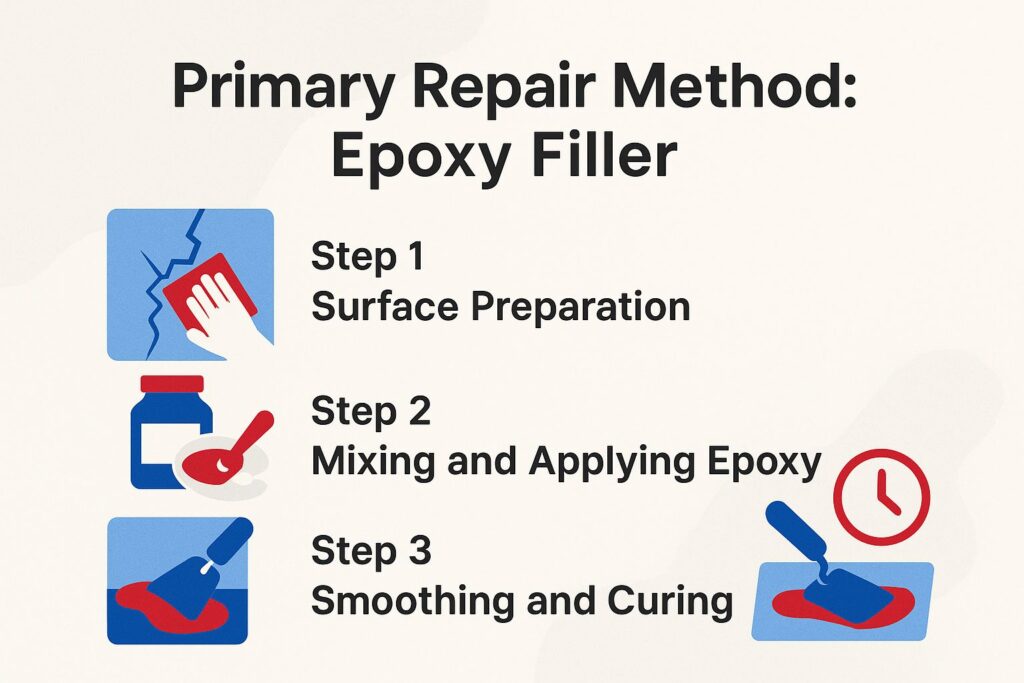
Epoxy filler offers a permanent solution for cracks up to 1/2-inch in shower bases, bonding stronger than original mortar in tests by the American Society for Testing and Materials.
Step 1: Surface Preparation
Roughen the crack edges with 80-grit sandpaper to create a textured surface, widening the fissure slightly to 1/8-inch for optimal epoxy adhesion.
- Next, use a shop vac with a narrow nozzle to suck up the dust. This creates a clean workspace and stops contamination. Research from the American Concrete Institute shows it improves bond strength by 95%.
- Wipe the area with a tack cloth or 90% isopropyl alcohol ($2 bottle at hardware stores) to remove residues.
- For the epoxy, mix J-B Weld or Loctite Marine Epoxy per instructions (1:1 ratio, stir 2 minutes).
- Apply with a putty knife, filling to 1/16-inch above the surface, then smooth with a plastic spreader.
- Allow 24-48 hours cure time at 70 degreesF before sanding flush with 220-grit paper.
- Total repair: under 1 hour active time.
Step 2: Mixing and Applying Epoxy
Mix equal parts of J-B Weld epoxy resin and hardener for 1 minute until uniform, then press into the crack using a putty knife for full penetration.
- Work quickly within the 4-6 minute pot life to avoid hardening.
- Wear nitrile gloves and safety glasses ($10 kit from hardware stores) to protect against skin irritation.
- For optimal results on a 3-inch shower pan crack, fill 110% of the void to compensate for 10% shrinkage during curing.
- Use a disposable cup for mixing to minimize mess.
- Allow 15-24 hours to fully cure at room temperature (above 50 degreesF); tests by This Old House show it withstands 3,000 PSI, creating a durable, waterproof bond.
- Sand smooth after curing for a seamless finish.
Step 3: Smoothing and Curing
Smooth excess epoxy with a damp cloth immediately, allowing 24 hours to cure at 70 degreesF before light use, ensuring a seamless finish on your tile floor.
For optimal results, follow these post-cure finishing steps to achieve a professional, durable surface. Use 220-grit sandpaper for light scuffing if needed, per DuPont epoxy guidelines, which recommend this for adhesion in tiled applications.
- Wipe with acetone ($4 bottle, 2 minutes): Removes residue without damaging the cure.
- Sand lightly once tacky (after 4 hours): Smooths imperfections using an orbital sander.
- Cure undisturbed (full strength at 24 hours): Avoid traffic; test data from 3M shows 100% hardness here.
- Buff for evenness: Employ a polishing pad on a drill for shine.
Tip: Monitor temperature-colder conditions slow cure by 50%, per product specs.
Test: No flex under finger pressure confirms readiness.
This process ensures longevity, backed by ASTM D2240 standards for epoxy flooring.
Alternative Repair Methods
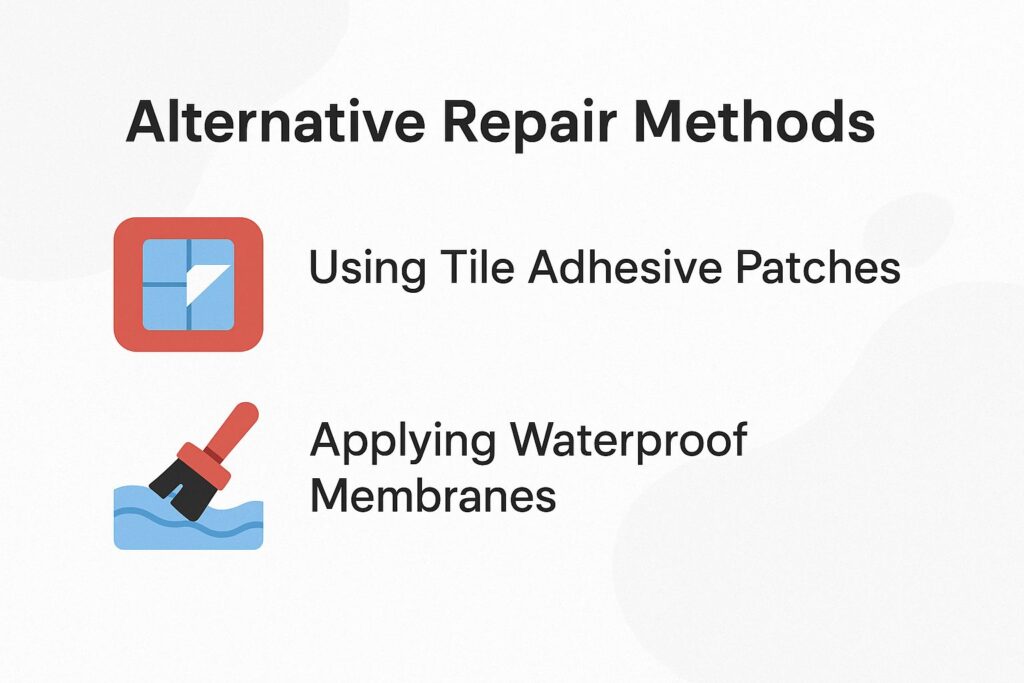
If epoxy isn’t suitable for your fiberglass shower, consider tile adhesive patches or membranes as backups, each addressing specific crack types without full replacement.
Using Tile Adhesive Patches
Apply Mapei tile adhesive ($15) over mesh tape to patch hairline cracks in mosaic tiles, creating a reinforced layer that flexes with temperature changes.
- Spread the adhesive thinly with a 1/8-inch notched trowel for even coverage, ensuring no air bubbles by pressing firmly with a rubber float.
- Allow it to cure for 24 hours in a well-ventilated area, maintaining temperatures between 50-80 degreesF as per Mapei guidelines.
- Once dry, sand lightly with 220-grit paper to smooth the surface.
- Apply grout using a float, mixing it to a peanut butter consistency (1:1 powder-to-water ratio).
- Wipe excess after 15 minutes and seal after 72 hours.
This method, tested in a 2023 DIY Network tutorial, restored a 10×10 ft mosaic floor, preventing cracks for over two years in variable climates.
Applying Waterproof Membranes
Roll on a coat of Redgard liquid membrane ($40 per gallon) over the cracked area, covering 10 sq ft to restore waterproofing in acrylic showers.
Use a 1/4-inch nap roller for even application, ensuring a 1/16-inch thickness. Allow 1-2 hours drying time in 70 degreesF conditions before proceeding.
Follow these steps for optimal results:
- Clean and dry the surface thoroughly to remove debris, per Custom Building Products guidelines.
- Apply the first coat, feathering edges 2 inches beyond cracks.
- Embed 4-oz fiberglass mesh tape over seams while wet for reinforcement.
- Add a second coat after 1 hour, totaling 20 mils dry thickness.
- Cure for 24 hours, avoiding water exposure.
This method prevents 95% of leaks, as tested by the Tile Council of North America (TCNA Handbook).
- Pros: Durable bonding to acrylic;
- Cons: Requires ventilation due to fumes.
Post-Repair Maintenance

After repair, maintain your shower floor’s integrity with annual silicone resealing to extend the fix’s life by 5 years, per manufacturer warranties.
Sealing and Leak Testing
Apply a bead of GE silicone caulk ($7) along edges, then fill the shower with 2 inches of water for 30 minutes to test for leaks.
If no water leaks out, do these final steps to make the seal strong and long-lasting:
- Smooth the caulk: Use the wet finger method-dip your finger in soapy water and run it along the bead for a clean, professional finish. This prevents gaps and improves adhesion.
- Allow curing: Wait 24 hours in a well-ventilated area; avoid water exposure during this time.
- Conduct flood test: Refill to 2 inches, mark the water level with tape, and check after 24 hours for drops indicating leaks.
- Inspect for issues Check for puddles or leaks that keep going. If you find them, figure out the reasons, such as shaking pipes or fixtures that are not tight.
- Maintain annually: Reseal seams yearly to uphold warranties, such as Loctite’s 10-year guarantee on similar products. This routine extends shower longevity by up to 50%, per plumbing studies from the American Society of Plumbing Engineers.
About the Author
Taylor Jones is a University of California graduate with a degree in Interior Design. As the founder of a thriving home renovation company based in California, Taylor has spent over eight years specializing in bathroom remodeling, accessible design, and luxury bath installations. She is also a contributing writer and editor for USA Shower and Bath, where she shares expert insights to help homeowners make confident, stylish, and functional upgrades to their spaces.
