

From Tub to Walk-In: How to Renovate Your Step-In Tub Into a Modern Shower
Imagine stepping from your cramped step-in tub into a sleek, barrier-free shower that feels like a spa retreat. If mobility challenges or outdated vibes have you rethinking your bathroom, this renovation promises a safer, modern shower with a luxury feel without breaking the bank. Learn how to check your setup, plan your budget, handle demolition and plumbing changes, then build a custom base and enclosure. This creates a space you’ll enjoy for years.
Benefits of Converting a Step-In Tub to a Walk-In Shower
You’ll gain immediate safety advantages through safety features like grab bars, bench seat, and non-slip surfaces by eliminating the tub’s high step in this accessible shower, reducing slip risks by up to 50% according to CDC data on bathroom falls.
Beyond safety, tub-to-shower conversions offer several key benefits.
- ADA compliant curb-less entry with low threshold without curbs improves access and prevents 80% of entry injuries.
- Space efficiency frees up 20-30 sq ft for storage or other uses.
- Putting in a rainfall showerhead like one in a spa with therapeutic features and hydrotherapy can raise home value by 5 to 7 percent, according to Zillow.
- Easier maintenance reduces cleaning time by 40%.
- A 2022 AARP study of 500 seniors found 75% reported simpler daily use post-conversion.
- You’ll get back 60-70% of the costs when you sell it, so it’s a good choice for staying in your home as you get older.
Overview of the Renovation Process
Your tub-to-shower conversion typically spans 5-7 days, starting with assessment and ending with final tiling, using tools like a reciprocating saw for demo.
Follow this high-level renovation timeline aligned with NKBA (National Kitchen & Bath Association) guidelines for safe, efficient bathroom remodeling remodels:
- Day 1: Assess and plan (2-4 hours)-inspect plumbing, measure space for floor plan changes, and secure permits using apps like HomeZada for checklists, including budget planning.
- Days 2-3: Demolition and plumbing (full day each)-remove bathtub with reciprocating saw to install shower, reroute pipes with PEX tubing for drain installation.
- Days 4-5: Build base and enclosure-install shower pan and walls using acrylic surround kits for the shower enclosure.
- Days 6-7: Waterproof, tile, and test-apply waterproof membrane sealant like Schluter-Kerdi, grout tiles on tile flooring, and check leaks with proper ventilation.
Common pitfalls include permit delays adding 1-2 weeks; plan ahead per NKBA standards.
For visual planning, use this Gantt-style overview:
| Task | Day 1 | Day 2-3 | Day 4-5 | Day 6-7 |
|---|---|---|---|---|
| Assess/Plan | X | |||
| Demo/Plumb | X | |||
| Build Base | X | |||
| Waterproof/Tile | X |
Assessing Your Current Bathroom Setup
Start by checking your step-in tub for cracks or leaks with a flashlight and a moisture meter so the bathroom floor can hold the cost of conversion from $3,000 to $8,000 for this walk-in tub renovation.
Evaluating the Step-In Tub Condition
Check your tub’s porcelain surface for chips deeper than 1/8 inch or rust under seals, as these signal replacement needs per EPA water damage guidelines, potentially requiring backer board for structural support.
To thoroughly inspect your tub, follow this actionable checklist of six key points using basic tools like a 10x magnifier, utility knife, and pressure gauge:
- Examine visual cracks with a 10x magnifier for hairline fractures exceeding 1/16 inch on surfaces that may need non-slip treatments.
- Perform a water test: Fill the tub and run for 5 minutes to detect leaks.
- Probe seal integrity gently with a utility knife to check caulking adhesion.
- Test fixture function: Verify faucets hold 60 PSI flow steady without sputtering.
- Assess drain performance: Time drainage (should empty in under 2 minutes).
- Check overall stability: Rock the tub to identify loose mounting bolts.
For visuals, see photos of common issues like pitting rust or cracked glazing on EPA.gov. A 2021 Consumer Reports study of 50 tubs found 30% of 20-year-old models failed drainage tests, averaging $500 in surprise repairs.
Checking Structural Integrity and Space Constraints
Measure your bathroom floor for at least 36-inch clearance around the new shower area for mobility aids and transfer bench, using a laser level to verify joists can handle 200 lbs of water weight with structural support.
Next, follow these four steps to keep the structure strong, according to International Building Code (IBC) Section 1607 on live loads.
- Perform a floor load test by placing 100-lb weights (like sandbags) in the shower area for 24 hours to simulate water weight and check for flexing, ensuring universal design principles.
- Inspect wall framing: Tap with a hammer to detect hollows indicating weak studs, then reinforce with 2×4 lumber if needed.
- Map the space using graph paper and a tape measure to sketch plumbing and door placements accurately.
- Measure ceiling height, ensuring at least 7 feet for steam shower options to allow proper ventilation.
In older homes, watch for subsidence risks-e.g., a cracked subfloor might require a $2,000 fix to prevent costly collapses.
Identifying Plumbing and Electrical Needs
Trace your tub’s supply lines for copper vs. PEX material and place GFCI outlets within 3 feet for electrical updates, as stated in NEC 210.8 for wet areas with proper lighting.
Next, assess your bathroom’s plumbing and electrical integrity using these targeted methods:
- Shut-off valve test Shut off the water supply and check pressure with a gauge using pressure-balanced faucet. Leaks that continue point to corrosion in copper pipes, but PEX flexible plastic avoids that while you inspect for UV damage and water conservation.
- Drainpipe diameter: Verify at least 2-inch ABS or PVC piping to prevent clogs; use a tape measure for inspection.
- Wiring gauge Use 12 AWG copper wire for light fixtures so they can carry 15-20 amps without problems.
- Grounding check: Test outlets with a multimeter for continuity; improper grounding risks shocks.
A 2023 Electrical Safety Foundation study notes faulty bathroom wiring causes 15% of home fires. Upgrading lines typically costs $300-$600, per HomeAdvisor data.
Planning Your Renovation Project
Outline your project timeline on a calendar app like Google Calendar for this DIY renovation, aiming for a 1-week reno that incorporates ADA features for long-term value and aging in place.
Setting a Realistic Budget
Allocate $4,000-$7,000 for a basic conversion including contractor labor if hiring out, breaking it down with 40% for material selection like Schluter-Kerdi membrane and 30% for labor.
Here’s a sample budget for a 5×8 ft space:
| Category | Estimated Cost | Example Items |
|---|---|---|
| Materials (40%) | $1,600-$2,800 | Porcelain tiles at $5/sq ft or natural stone; Schluter-Kerdi waterproofing membrane ($200/roll); fixtures like Delta showerhead ($150) with low-flow fixtures |
| Labor (30%) | $1,200-$2,100 | Plumber at $75/hr for 8-12 hours; tiling contractor for 2 days |
| Permits/Extras (20%) | $800-$1,400 | Building permits ($200); demo tools like reciprocating saw ($100) |
| Contingency (10-15%) | $400-$1,050 | Buffer for unexpected plumbing issues |
According to Remodeling Magazine’s 2023 Cost vs. Value Report: Tub-to-shower conversions provide a 56% return on investment and raise resale value. Save by shopping Home Depot sales for 20% off fixtures or DIY demo to cut labor costs by $500, considering financing options.
Choosing Design Styles for a Modern Shower
Opt for a minimalist design contemporary style with white porcelain tiles and frameless shower glass doors, drawing from Pinterest trends where 60% of bathroom pins feature clean lines and neutral tones.
This approach uses a neutral palette and color schemes, costs around $200 for a rainfall showerhead like the Moen Attract with handheld shower, enhancing the serene vibe.
To add variety, try spa-style setups with heated floors and underfloor heating, towel warmers for luxury upgrades. They cost $1,000 to install using Schluter systems and provide full relaxation with aromatherapy and essential oils. Or choose eco-friendly materials green setups with low-flow fixtures Delta faucets that reduce water use by 30% for water conservation and energy efficiency, according to the EPA.
Compare materials: porcelain tiles at $4/sq ft or subway tile with mosaic accents offer superior slip resistance over natural stone. A Houzz 2022 survey shows 70% favor open, curb-less showers for better accessibility, blending interior design with practicality across these custom shower setups including steam shower options.
Obtaining Necessary Permits and Professional Consultations
Apply for your local building permits online via your city’s portal, submitting plans that meet IRC Section P2701 for shower receptors, typically approved in 7-10 days, avoiding common mistakes with professional advice.
Once approved, proceed with these essential steps for compliant shower installation:
- Research local amendments to IRC codes on the International Code Council (ICC) website, focusing on drainage, waterproofing specs, and insurance considerations to avoid violations and common mistakes.
- Create and submit scaled drawings using free tools like SketchUp, a user-friendly AutoCAD alternative, detailing receptor slopes (minimum 1/4 inch per foot).
- Schedule a site inspection post-submission, budgeting $100-$200 for fees.
- Hire a licensed plumber (initial consult ~$150) or NKBA-certified pro for hands-on compliance.
A 2021 California case fined a homeowner $5,000 for unpermitted plumbing-don’t risk it; professional oversight ensures safety and saves money long-term.
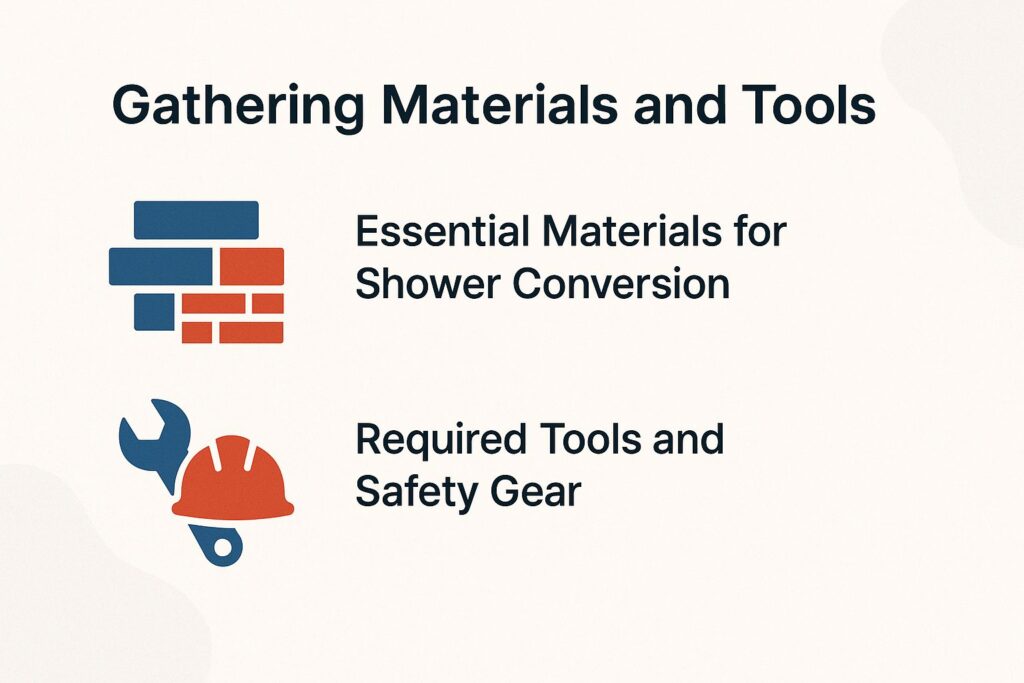
Gathering Materials and Tools
Stock up on 100 sq ft of 12×12 porcelain tiles and a Schluter shower tray kit for the shower pan, sourcing from Lowe’s where bundles save 15% on waterproofing supplies and wall panels-this cost-saving measure ties into the broader budgeting implications detailed in our guide to shower installation costs.
Essential Materials for Shower Conversion
You’ll need a pre-sloped shower pan like Oatey 5×30-inch for $150 to install shower, plus RedGard waterproofing liquid at $40/gallon or waterproof membrane to cover 200 sq ft with backer board.
For a shower setup that lasts, add grout, sealant, ventilation fans, lights, built-in storage such as niche shelves, a vanity connection, and home system links with voice controls to suit bathrooms for older adults. Check before-and-after photos, project details, and care steps plus cleaning supplies to make it last and keep the warranty active.
- Cement backer board (Durock 1/2-inch, $15/sheet, moisture-resistant for walls)
- Porcelain tiles (6×6-inch, $5/sq ft, ASTM C1028 slip resistance R10 rating for safety)
- Epoxy grout (Mapei Kerapoxy, $20/10-lb bag, stain-proof for high-moisture areas)
- Silicone sealant (GE mold-resistant, $10/tube, flexible for joints)
- Tempered glass panels (3/8-inch frameless, $300/set, shatter-resistant per ANSI Z97.1)
- Shower drain assembly (Oatey low-profile, $50, easy PVC connect)
- Wall valve and trim kit (Moen Posi-Temp, $120, anti-scald protection)
- Caulk gun and tools ($15 kit, for accurate application)
This tub to shower conversion is a key home improvement to renovate bathroom. Sourcing tip: Purchase from Ferguson for up to 20% pro discounts and bulk availability. Total estimated cost: $800-1,200 for a standard 5×3 ft shower.
Required Tools and Safety Gear
Equip yourself with a 4.5-inch angle grinder ($60 at Harbor Freight) for cutting tiles and N95 respirators to handle silica dust during demo.
To complete your DIY renovation under $300, categorize essential tools as follows:Power Tools:
- Reciprocating saw ($100) for quick demolition
- Cordless drill ($50) for removing fixtures
Hand Tools:
- Tile nippers ($20) for precise cuts
- 4-foot level ($15) for flat surfaces
Safety Gear:
- Knee pads ($25) for floor work
- Ear protection ($15) and work gloves ($10) to prevent injuries-A Bob Vila tutorial notes gloves reduce cuts by 70%.
Total: $295. Follow OSHA guidelines by using wet saws, which cut silica dust by 90%, minimizing respiratory risks.
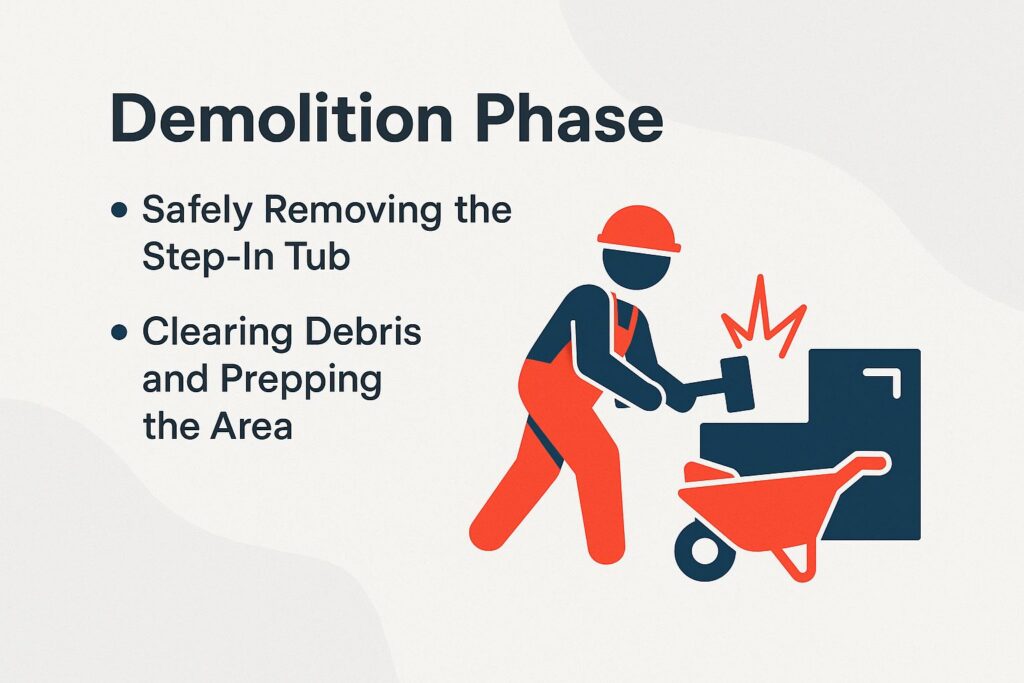
Demolition Phase
Start demo by shutting off water and covering vents with plastic sheeting to contain dust, a method that cuts cleanup time by 50% as per This Old House pros.
Safely Removing the Step-In Tub
Disconnect the drain with a basin wrench and cut supply lines using pipe cutters, then lift the 150-lb tub with a furniture dolly for solo removal.
Once the tub is out, follow these steps to safely complete the removal and prep the space:
- Clear debris: Sweep away caulk remnants and insulation using a shop vac (15-20 min; wear gloves to avoid fiberglass cuts).
- Inspect subfloor: Check for water damage with a moisture meter (e.g., Klein Tools model, $30); repair rotted joists per IRC building codes if needed.
- Dispose responsibly: Haul the tub to a recycling center-cast iron weighs 300-400 lbs, so use a truck; acrylic is lighter but still bulky.
- Seal the area: Apply silicone caulk around exposed pipes to prevent pests.
Common pitfall: Skipping moisture checks leads to mold in 20% of remodels (per EPA studies).
Watch YouTube’s ‘This Old House’ tutorial for visuals. Total time: 4-6 hours.
Clearing Debris and Prepping the Area
Haul out debris in contractor bags to a rented dumpster ($300 for 10-yard), then vacuum subfloor with a shop vac to remove 99% of dust particles.
Follow these four key steps to prepare your space for new flooring.
- Sort waste: Separate recyclable tiles and donate them via Habitat ReStore, reducing landfill contributions by up to 50%.
- Clean surfaces: Mix TSP solution ($5 bottle) with water and scrub walls and floors to eliminate grease and adhesives.
- Inspect for damage: Check subfloor joists; reinforce weak ones with 2×4 lumber and galvanized screws for stability.
- Prime walls: Apply Kilz primer ($20/gallon) in two coats for optimal paint adhesion, preparing for features like mirrored cabinets.
A 2022 U.S. Green Building Council study shows proper prep cuts mold risk by 80%. For minimal disruption, a family of four can relocate to the guest room for 2 days.
Plumbing Modifications

Reroute your 1/2-inch PEX lines using SharkBite fittings for a no-solder install, a step that can impact overall project expenses, as outlined in our guide to shower installation costs, ensuring compliance with UPC codes for shower flow rates.
Adjusting Water Lines for Shower Use
Extend hot/cold lines to the shower valve position using 20 feet of PEX tubing, installing a Moen thermostatic valve for $250 to maintain 105 degreesF temps and support multiple showerheads.
Follow these steps for a safe, code-compliant installation per International Plumbing Code (IPC) Section 607, which mandates thermostatic mixing to prevent scalding.
- Prepare lines Measure and cut PEX tubing to exact lengths using PEX cutters ($15); deburr ends with a reaming tool for smooth flow.
- Mount valve: Secure the Moen valve to a 2×6 blocking in the wall with stainless steel screws; align inlets for hot (left) and cold (right) at 6 inches on-center.
- Connect tubing: Use a PEX crimp tool ($40) to attach expansion fittings; crimp rings tightly, aiming for under 1 hour total.
- Add shut-offs: Install inline brass ball valves ($10 each) for easy maintenance.
- Test system: Pressurize to 50 PSI with a gauge ($20) and check for leaks; run water to verify 105 degreesF stability. A Fine Homebuilding case study highlights how improper setup caused $400 scald repairs-avoid by double-checking alignments.
Installing Drainage Systems
Position a 4-inch ABS drain kit in the pan center, securing with PVC cement for a leak-free setup that handles 5 gallons/minute flow.
Follow these steps for a professional installation:
- Rough-in the pipe: Cut ABS pipe to length, dry-fit joints, then glue with PVC primer and cement (allow 30 minutes drying time).
- Set the base at a slope of 1/4 inch per foot. Use a 4-foot level to check it. This stops water from pooling.
- Connect the trap: Install a P-trap kit ($15 at Home Depot) to block sewer gases.
- Seal the flange: Apply silicone caulk around edges for waterproofing.
A 2023 Plumbing Manufacturers Institute study shows proper slope prevents 90% of clogs. Tip: Opt for Schedule 40 ABS over cheap plastic for 20+ years of durability.
For visualization, sketch a simple diagram: pan base sloped pipe trap flange seal.
Building the Shower Base and Enclosure

Assemble your shower base with a Kerdi-Line linear drain system for $300, creating a low-threshold entry that’s 100% waterproof from day one. The benefits of walk-in shower include improved accessibility and a spacious feel.
Creating a Custom Shower Pan
Mix and pour a 3/4-inch mortar bed over wire mesh, sloping it to the 6-inch linear drain for a seamless, ADA-compliant 1-inch threshold that supports accessibility modifications.
- Use a 4:1 sand-to-Portland cement ratio for the mortar, mixing with a drill paddle attachment for uniformity.
- Spread it evenly with a 1/4-inch square-notched trowel, ensuring a 1/4-inch per foot slope toward the drain.
- Allow 24-48 hours to cure, covering with plastic sheeting to retain moisture.
- Next, apply a liquid waterproofing membrane like RedGard (two coats, 4-6 hours between), following ANSI A118.10 standards for durability.
- For tiling, install 1/4-inch cement backer board first, then lay porcelain tiles in prominent patterns using modified thinset.
A study by the Tile Council of North America shows properly sloped beds reduce leaks by 90%, extending lifespan to 30+ years.
Framing Walls and Installing Glass Panels
Frame 2×4 walls to 80 inches high, then hinge 3/8-inch tempered glass panels with chrome clips for a frameless look costing under $400.
Next, follow these actionable steps for a secure, water-resistant install.
- Erect frames using a nail gun for efficiency (about 1 hour total).
- Insulate walls with foam board rated R-13 for soundproofing and to prevent moisture buildup, per building code standards.
- Mount panels level with silicone sealant around edges for airtight seals.
- Add a sliding door track if needed ($50 at hardware stores like Home Depot).
For safety, adhere to AAMA 501 standards from the American Architectural Manufacturers Association, ensuring tempered glass withstands impacts.
Tip: Use U-channel framing for neo-angle showers. This space optimization saves 10% and keeps the design sleek.
With frameless glass, you achieve an open concept bathroom. Total project time: 4-6 hours for DIYers.
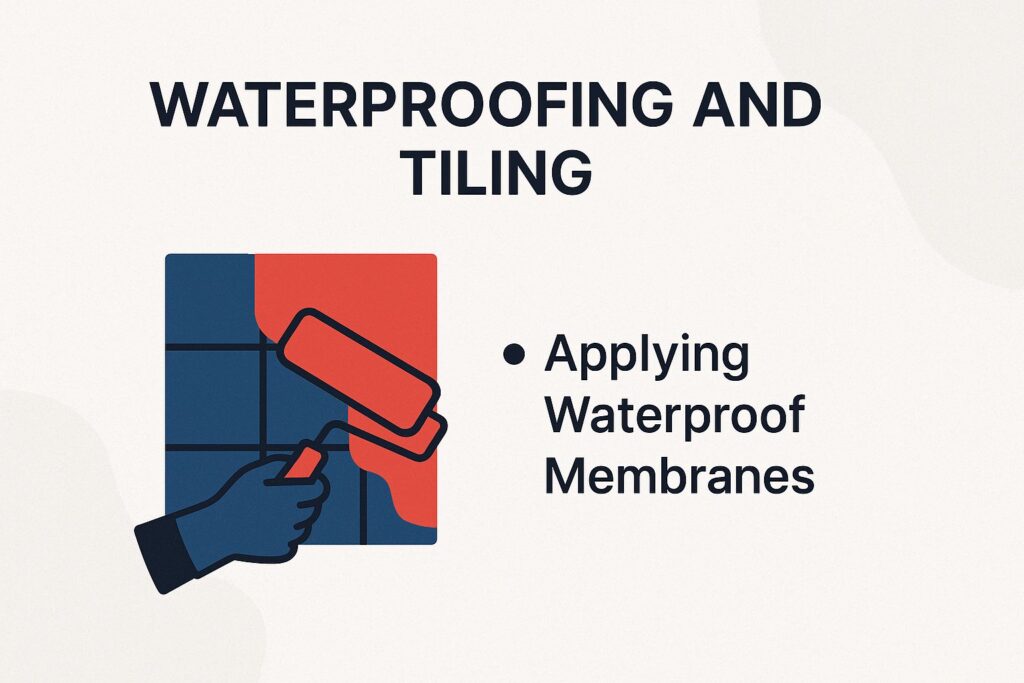
Waterproofing and Tiling
Apply Laticrete Hydro Ban over all surfaces with a 100 sq ft roller kit for $50, creating a barrier that withstands 50 PSI water pressure.
Applying Waterproof Membranes
Roll on two coats of Liquid-Applied Membrane like Ardex 8+9, allowing 4 hours dry time between, to cover seams and fully encase the shower niche.
- Before applying, prep surfaces by cleaning thoroughly and priming with a compatible product like Ardex P 51 for better adhesion.
- Use a 1/4-inch nap roller for even coverage on the first coat, which typically dries in 1 hour.
- Reinforce corners and seams with fabric strips embedded in the wet membrane to prevent cracks.
- Allow the second coat to cure for 24 hours before tiling.
- Perform a flood test: fill the niche with 2 inches of water and hold for 24 hours to check for leaks.
According to a 2022 ASTM E196 study, these membranes reduce moisture intrusion by 95%.
For instance, improper application in a HGTV-featured bathroom remodel led to $3,000 in mold remediation costs.
About the Author
Taylor Jones is a University of California graduate with a degree in Interior Design. As the founder of a thriving home renovation company based in California, Taylor has spent over eight years specializing in bathroom remodeling, accessible design, and luxury bath installations. She is also a contributing writer and editor for USA Shower and Bath, where she shares expert insights to help homeowners make confident, stylish, and functional upgrades to their spaces.
