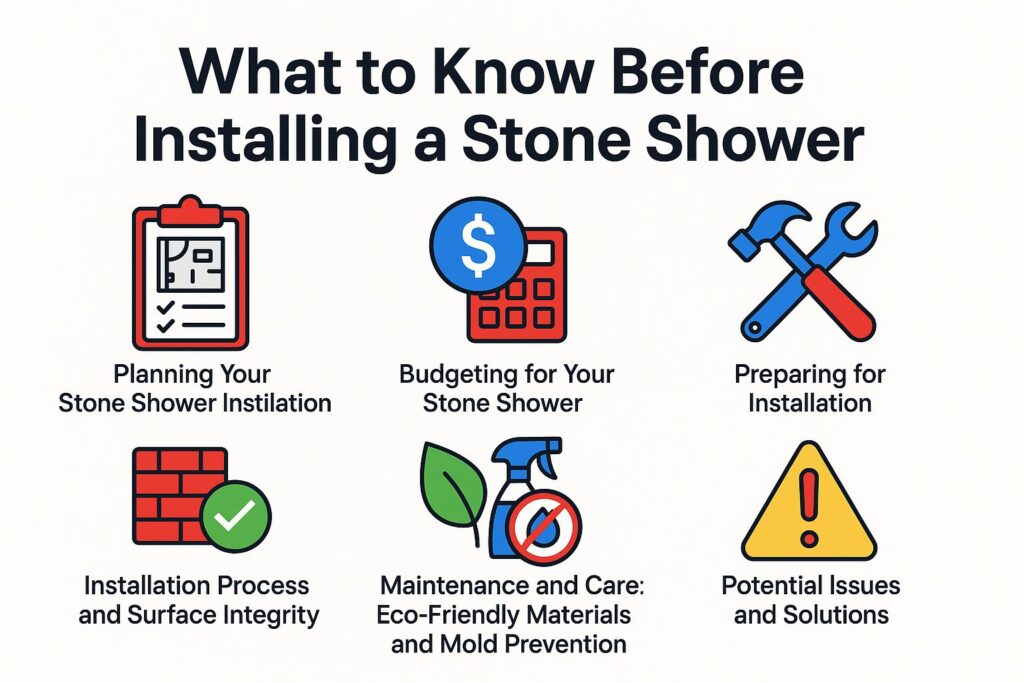
What to Know Before Installing a Stone Shower
Imagine stepping into a shower that feels like a luxurious spa retreat, surrounded by the natural beauty of stone. Installing a stone shower isn’t just a design choice; it’s a commitment to elegance and durability. Before you start, learn about the advantages, different stones available, and key planning advice. You’ll also learn about planning your expenses, how to set up your shower, and ways to keep it in great condition. Are you ready to make your bathroom a relaxing place? Let’s get started!
Benefits of Stone Showers
Stone showers offer significant benefits, reducing water damage risks by 60% compared to traditional materials due to their inherent moisture resistance.
Along with moisture resistance, stone showers are known for their durability, often lasting more than 30 years with proper maintenance. They are easy to maintain, saving money in the long run.
Another benefit is its visual charm; natural stone has distinct patterns that can improve the appearance of any bathroom. For a seamless installation, consider using high-quality sealants like AquaMix for moisture protection and longevity.
Installing a stone shower improves the look of the space and protects it from possible damage. If interested, you might want to explore how much shower installation costs to better plan your budget.
Common Types of Stone Used
Picking the right stone is important. Common types include natural stones like granite and man-made stones such as quartz, each with its own special features.
Granite is valued for its strength and ability to resist scratches, which makes it a good choice for places with a lot of foot traffic. However, it requires regular sealing and can be expensive, costing between $50 and $100 per square foot.
Marble, on the other hand, exudes luxury with its stunning aesthetics but is softer and more prone to etching, typically costing between $40-$100 per square foot.
Quartz, being engineered, offers a wide variety of colors and is very low-maintenance, though it falls in a similar price range as marble.
Each type provides distinct advantages depending on your needs, style preferences, and budget.
Planning Your Stone Shower Installation
Careful planning during installation makes sure your stone shower works well and looks good, using space effectively with considerations for weight distribution and structural support. For those mindful of expenses, it’s important to understand how much shower installation might cost, ensuring your budget aligns with your design goals.
Assessing Your Bathroom Space
To evaluate your bathroom area, you need exact measurements: typical showers are 36×36 inches, but bigger ones can make the space more comfortable and look better.
Begin by measuring the entire bathroom area, ensuring to account for door swings, plumbing considerations, and any adjacent features like sinks or toilets.
Use a tape measure to chart key dimensions on paper, noting the positions of plumbing fixtures and lighting options, which may limit cabinet or shower placement.
Tools like SketchUp let you see 3D models, so you can try out different layouts and designs considering tile selection before deciding.
Consider aiming for at least 42 inches of space in front of fixtures to promote user accessibility and easy movement.
Choosing the Right Stone and Design Options
Choosing the right stone involves considering factors like color choices, texture, and compatibility with existing dcor to create a cohesive look.
- Begin by assessing the primary colors in your bathroom. For instance, if you have soft white cabinetry, consider warm-toned stones like travertine or beige marble to create a welcoming feel while evaluating backsplash options.
- Next, think about texture; polished surfaces reflect light and provide a sleek look, while honed finishes offer a more matte appearance and can be ideal for high-traffic areas, affecting the overall aesthetic appeal.
- Make sure the style fits with your overall design. Natural stones like slate or granite can add natural elements, providing a rugged look that enhances the visual appeal.
Design Considerations and Safety Precautions
When planning your stone shower, consider tile choices and where to place fixtures, concentrating on looks and how well it works.
- Start by choosing tile options that harmonize with your overall bathroom theme. For example, large-format tiles create a seamless look, while mosaic patterns can add texture and interest.
- Next, consider where you install fixtures carefully; placing a rain showerhead in the middle can make the bathroom feel more high-end, while strategically placed niches can provide storage without needing additional space.
- Select complementary hardware finishes, like brushed nickel or matte black, which can accentuate the shower design while ensuring easy maintenance.
This thoughtful planning will culminate in a stunning and functional stone shower, improving long-term performance and investment value.
Budgeting for Your Stone Shower
It’s important to plan your budget carefully.
Stone materials usually cost between $50 and $100 per square foot, depending on the kind you pick. For a detailed breakdown of expenses, learn more about shower installation costs to better prepare your budget.
Cost of Materials
Material costs can vary significantly, with granite at approximately $75/sq ft, while more affordable options like porcelain can start at $20/sq ft.
For a standard 48×48 shower, the total square footage is 16 sq ft. Using granite, the material cost would be around $1,200, while opting for porcelain would lower costs to about $320.
If you choose a mid-range option like ceramic at $35/sq ft, the total would be approximately $560. To further save, consider purchasing in bulk or exploring local suppliers for discounts.
Keep in mind installation costs, which typically range from $5 to $15 per sq ft, affecting your overall budget significantly.
Labor Costs, DIY Options, and Professional Advice
Labor costs for professional installation can range from $40 to $100 per hour, while DIY installation can save you up to 50% on overall costs, considering the project scope and complexity.
Opting for DIY requires specific skills and tools. For example, if you’re installing kitchen cabinetry, you’ll need experience in measuring, cutting, and possibly electrical work, ensuring safety precautions are met.
Mistakes can be costly-overcutting on a cabinet can lead to wasted materials and time. On the other hand, hiring a contractor can be comforting because of their skill and experience, ensuring warranty coverage.
To make a well-informed choice, assess your abilities against the project complexity. Tasks like putting up shelves can usually be done by yourself, but more complicated jobs should probably be done by experts.
Preparing for Installation
Preparing thoroughly is important for setting up a stone shower. You’ll need specific tools like tile cutters and waterproof membranes, keeping zoning regulations in mind.
Tools and Materials Needed for Effective Maintenance
Important tools for setting up a stone shower are a wet saw ($250), trowels, and waterproof membranes for long-lasting and moisture-proof results, considering drainage system efficiency.
Along with these tools, you might want to buy a level ($20) to keep your surfaces flat and a grout float ($10) to evenly apply grout between tiles, ensuring proper grout lines and expansion joints.
A Schluter waterproofing kit (about $300) can make your shower last longer by stopping water damage, supporting humidity control and mold prevention.
For cutting stone, a quality diamond blade (approximately $50) will provide clean cuts without chipping. Investing in these items promotes a professional finish and long-lasting results in your stone shower installation, aiding in temperature regulation and soundproofing.
Hiring Professionals vs. DIY and Customer Reviews
Deciding between hiring professionals or DIY can save you $2,000, but weigh the pros and cons based on your skills and project complexity, considering customer reviews and expert opinions.
Hiring a licensed contractor can mitigate risks particularly in complex renovations. Hiring experienced workers usually results in higher quality work and reduces mistakes during setup, making the cost worthwhile.
On the other hand, DIY projects are perfect for easy jobs, like painting or gardening. You can find help from Home Depot’s online tutorials or get ideas from Pinterest when learning about plumbing fixtures that work together.
Think about your abilities; if you are sure of what you can do and the job is simple, finishing it by yourself can be satisfying and save money.
Installation Process and Surface Integrity
The installation includes key steps, starting with preparing the subfloor and finishing with laying tiles.
Each step must be performed accurately.
Step-by-Step Installation Guide and Installation Time
- Prepare the subfloor by ensuring it’s level and adequate for installation time,
- Install waterproof membranes and caulking for better water protection.
- Layout and cut tiles, considering wall panels and curb height,
- Apply mortar and lay tiles, ensuring drainage slope and drain placement,
- Grout the joints while maintaining slip resistance and expansion and contraction factors.
Start by checking the subfloor with a level; any unevenness can be remedied with a self-leveling compound, which typically takes 4-6 hours to cure.
When installing waterproof membranes, consider using products like RedGard or Schluter Systems for superior moisture protection.
When laying out tiles, use a tile cutter for clean edges. For mortar, thin-set adhesive is best for most ceramic tiles.
Pick a high-quality grout, like Polyblend, to make sure your joints are strong and look good.
Common Installation Mistakes and Planning Phase
Avoid common mistakes, such as improper tile spacing or failure to waterproof, which can lead to costly repairs and safety hazards in the planning phase.
Certain mistakes can put your tiling work at risk. One is using the wrong grout type; for instance, sanded grout is ideal for wide joints but can crack in tighter spaces, affecting durability and mold resistance.
Another mistake is not getting the subfloor ready-make sure it’s clean, dry, and even before you start. Not double-checking measurements results in uneven cuts, leading to gaps and potential surface finish issues.
Ignoring manufacturer’s guidelines can sabotage your efforts; always consult product instructions for best results. By fixing these errors in advance, you can improve strength and look, ensuring the integrity of grout lines.
Maintenance and Care: Eco-Friendly Materials and Mold Prevention
Regular upkeep extends the life of your stone shower by concentrating on cleaning and sealing to prevent moisture and mildew problems, utilizing eco-friendly materials and mold prevention strategies.
Cleaning Your Stone Shower with Proper Hygiene Factors
To keep your stone shower clean, use pH-balanced cleaners weekly to avoid mildew and soap scum, ensuring proper hygiene factors are met.
For best results, choose stone care products like EcoClean Stone Cleaner, which is specifically formulated for delicate surfaces and helps maintain their natural luster.
Along with regular cleaning, consider using a squeegee after each shower to remove excess water, further reducing the risk of stains.
Set up a thorough cleaning plan each month using a soft brush, paying special attention to corners and grout lines to address any hard-to-clean areas. This hands-on method will keep your stone shower clean and make it last longer.
Sealing and Protecting Stone with Surface Treatment
Applying a sealer to your stone shower twice a year protects it from water and stains, enhancing its mildew resistance and helping it last longer.
To effectively seal your stone shower, start by thoroughly cleaning the surface with a pH-neutral cleaner to remove soap scum and mildew.
After drying, apply a high-quality sealant, such as Aqua Mix Sealer’s Choice Gold or StoneTech BulletProof Sealer, using a soft cloth or applicator. Be sure to cover all surfaces evenly and wipe away any excess after 10-15 minutes.
Allow the sealant to cure for at least 24 hours before using the shower, ensuring maximum protection against water damage.
Potential Issues and Solutions
Identifying problems early, such as water damage and mold growth, can help to save time and money. For those considering home renovations, understanding how much bathroom remodeling might cost can be a hidden gem in planning an effective and budget-friendly project.
Water Damage and Mold Prevention
Prevent water damage and mold by ensuring proper ventilation and using a high-quality waterproof membrane during installation.
Consider implementing dehumidifiers to maintain humidity levels below 60%, which inhibits mold growth. For instance, the Frigidaire FFAD5033W1 is effective in spaces up to 1,000 sq. ft.
In a recent project at a coastal home, pairing this dehumidifier with low-VOC paint and an exterior waterproof membrane significantly reduced moisture issues.
Check and clean ventilation systems often to make sure they work right. With these strategies, homeowners can effectively create a mold-resistant environment while enhancing the durability of their installations.
Repairing Cracks and Chips: Repair Options
Fix cracks and chips quickly to avoid more damage. Use epoxy fillers for small spots and think about retiling for bigger problems.
- For small cracks, apply epoxy filler which typically costs around $10-$20. Make sure the area is tidy before you start. Use a putty knife to spread it evenly for a smooth result.
- For larger cracks or damage, retiling may be necessary. Calculate your tile needs by measuring the area and considering waste-buy an additional 10% more. Tiles can range from $1 to $5 each, depending on material.
- For instance, a project requiring 50 tiles might cost between $50 and $250, depending on your choice. A case study showed that timely repairs saved a homeowner $500 in potential water damage.
Final Thoughts on Stone Showers
Your stone shower should match your taste, include custom features, and be both practical and useful.
Consider maintenance frequency, how often you use the shower, and who else might share this space.
For families with hectic schedules, bigger tiles such as 12×24 inches reduce grout lines, which simplifies cleaning. If you like a spa-like experience, choose natural stones like travertine or marble, which can improve the look.
Think about upkeep; granite needs sealing every few years, but quartzite is typically more durable.
Balance your stylistic desires with your daily needs to create a harmonious, functional environment.
Resources for Further Information
Check out these resources for detailed information and a buyer’s guide: websites like Houzz for design ideas, and forums like Reddit for personal reviews.
Besides Houzz and Reddit, take a look at Instagram. Many designers display new stone shower designs, showcasing various stone types and stone finishes, often using hashtags such as #StoneShower or #BathroomInspo.
YouTube provides many video guides and stories about change, showing you installation tips and how the installation works.
Consult specialized websites such as The Spruce, which provide articles on maintenance and trends, ensuring you remain informed about the latest in stone shower materials and styles. Each of these platforms can provide specific details suited to your needs.
About the Author
Taylor Jones is a University of California graduate with a degree in Interior Design. As the founder of a thriving home renovation company based in California, Taylor has spent over eight years specializing in bathroom remodeling, accessible design, and luxury bath installations. She is also a contributing writer and editor for USA Shower and Bath, where she shares expert insights to help homeowners make confident, stylish, and functional upgrades to their spaces.
